


Please noted: Empty Pop Cartridge only suitable for original ink cartridge, not remanufactured/compatible ink cartridge (Unless the cover can be opened easily).
1. Please confirm the nozzle is working normally before installing the pop cartridge. No broken lines or color missing.

2. Turn the printer on. When you open the front cover, the cartridge holder will automatically change positions.


Press cartridge down slightly, then remove the cartridge.
3. Wrap the nozzle with tissue in case of broke the nozzle. Next, use the small knife that come with the pop cartridge to cut into the corner of the cartridge cover, then carefully and gently pry the cover off. (A slotted screwdriver would be also recommended, safer than a knife.)
4. Use the knife to trim the rough inner and outer edges of the cartridge. After trimming, pour out the scrap from the cartridge, don’t leave it inside.

Note: If the cartridge edges are not trimmed properly, the cartridge cannot be installed in the proper position, and it will affect the printing quality.
5. Remove the sponge from the cartridge.

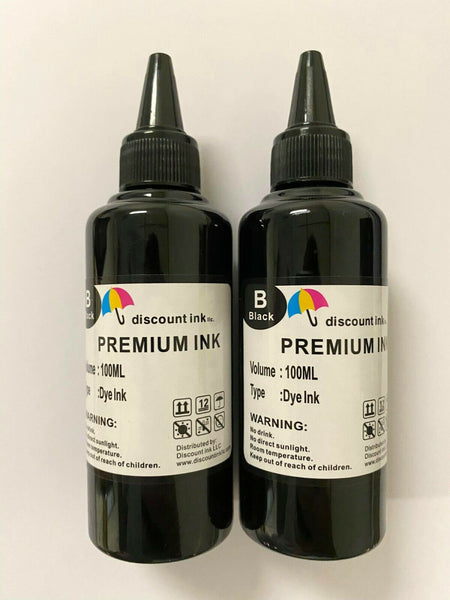
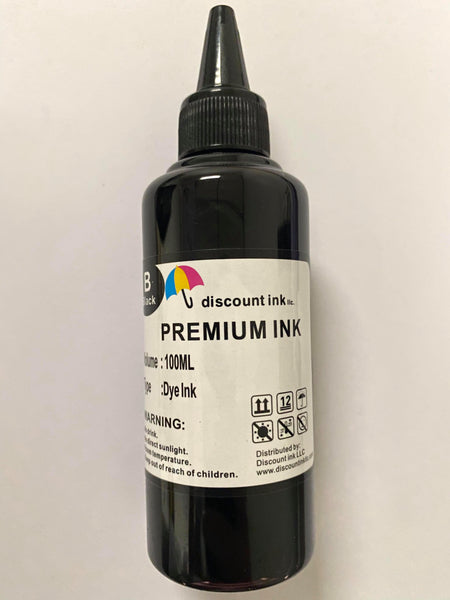
6. Remove the rubber plug from the pop cartridge, refill the INK into the Pop cartridge, then put back the rubber plug.

Recommended ink volume to fill:
PG-240/240XL series: 26ml for BK
CL-241/241XL series: 7ml for C/M/Y
PG-245/245XL series: 20ml for BK
CL-246/246XL series: 5ml for C/M/Y
7. Take the refilled pop cartridge out of the box. Install the pop cartridge in the corresponding original cartridge container. Press down firmly.


8. Install the cartridges, the printer will automatically begin the cleaning process.
9. Print a nozzle test sheet. If the nozzle test is normal, then you can begin printing.